Wet a quarter sheet of watercolor paper and drop in some light colors — blues, pale greens, yellows; maybe some violets too.Save some areas lighter.
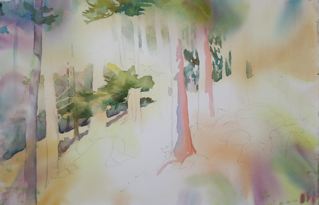 After it has dried, Draw trunks going across the paper, holding it horizontally. Add branches for a few. You can draw them coming straight out from the bottom of the page with no roots. Wet an area between two trunks and drop some color in it – a little darker, green? Charge it with some yellow. When you want to stop, ged out with some clean water as I did on the left.
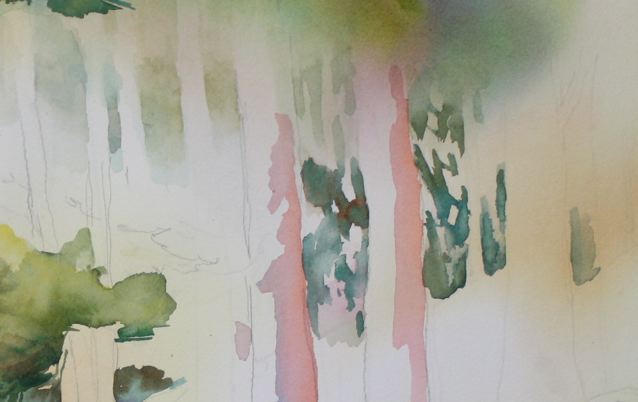
Weave the color from between two trees between the next to trees but change its shape. Soften the top edges with clean water and let them fade. In the lower areas change the colors as you work your way across but be sure your bring some color from the left side of the tree out on the right. You might want to work your way through some branches too.
 You might want to practice “walking” with your brush between two of the trees, making random, cross over strokes. This was done with a 1-inch flat.
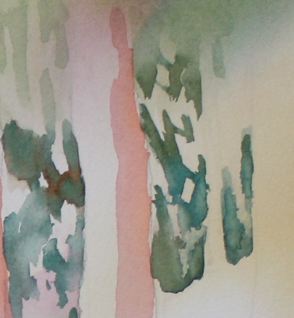
If the shapes are too white you can glaze them later.
Continue to work with different colored glazes, remembering to fade off with clean water whenever you don’t want an edge.
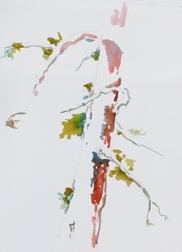
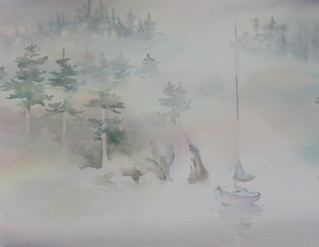
You might want to try making some smaller trees in a landscape. The deciduous trunks show up in the winter as lighter. Or here is one where I was just having fun with paint and color:
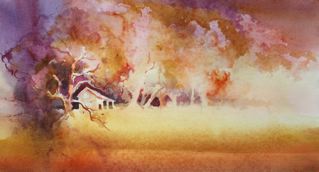
See if you can’t put more negativity (negative painting) into your watercolors. The less you say about the positive shapes, the more they sparkle.
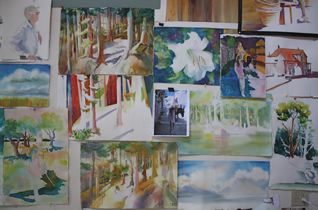
Lot’s of negative painting in progress…
Have fun! Happy painting,
Caroline
© Caroline Buchanan, 2013