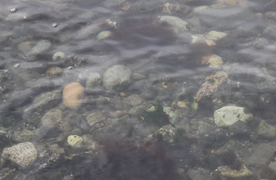
Haven’t you stood on a river bank and wondered how you would paint rocks under water? It can be extremely complicated but is, in effect, exactly the opposite of The White Veil Effect and what you might want to try next. It is a question of planning and process. With rocks under water you are dealing with a volume effect –the volume of the water influences how well we can see the rocks under water. I will present the basic steps and then give you some variations. the possibilities are endless.
Step1: drawing on watercolor paper for first rock painting
Do a good drawing of the rocks, They will be much more convincing if there is a sense of perspective — a change of scale between the near and far rocks, some overlaps. Also plan your light direction, and cast shadows on other rocks and on the floor of the streambed, if there are any.
Step 2 :drawing of demo on watercolor paper
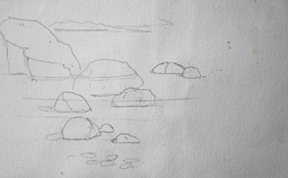 Do a line drawing of the planned rocks on your watercolor paper. If any are sticking up out of the water, draw the edge of the water around the rock. Draw this as a double line as it will be lighter than the rock or the rest of the water volume.
Step 3: Wet on wet start
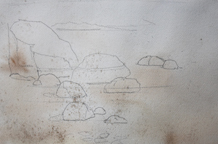
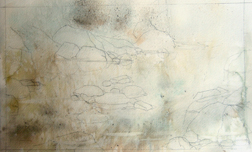
Wet the paper-– I submerge mine in a pan or water (see 06 09 Stretching your Paper for an example). At this point, I get the darker color of the stream bed under the water (but without the volume color). Think of it as a dry streambed. Also, at this time get any texture that you want on the rocks. Dry the paper.
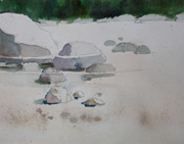 Step 4: dry rocks modeled with cast shadows
Model the rock as though they are in that dry streambed. Paint their lighter side and their darker sides. When they are dry, paint in the cast shadows.
Be careful to not have the rocks shaped like eggs or potatoes. I have painted some that look like you would be squirted with egg yok if you stuck you thumb on them. Even rolled stream rocks are not perfectly round.
Warning: if you want some light refraction ripples, draw the shapes in and — every time you paint across them — lift the color out of the refraction with a “thirsty” brush.
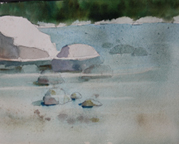 Step 5: Sinking the rocks!
Now the fun. You have to decide which rocks are going to be sunk the deepest, which are in in the middle depth, which are in the shallows and which are sticking out (if any). Then make up a puddle of what you think is the volume color of your water. For example, if you have painted your near bottom more of a brown gold and make up a blue puddle, the near groundunder water will look green. Think what hue you want the water to be and make your puddle the hue that will create that finished one when combined with the bottom color.
Put your board at a slant and start glazing down from the far shore with a saturated brush. You want the color to gang up at the bottom of the stroke as in the right photo below. Work quickly top to bottom with overlapping strokes.
 Be sure and paint under the like refractions around the rocks sticking out of the water and drag your damp dry brush trhought the near water for more light refraction streaks. If the hue seems a little too dark for the near rocks, thin the puddle with clear water as you come toward the bottom of the paper. Dry the painting.
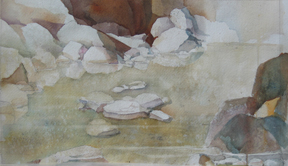
Step 6. Adjusting the volume color, sinking some rocks more
How does it look? Let’s do another glaze and make some rocks appear to be in deeper water. Mix up a new volume color. I made my a little greener and added a little burnt orange to dull it. You can see, in the above photo the hue of the wet on wet on the left; the hue of the lst glaze along the right of the painting, and the final glaze in a swatch in the upper right.
Here are two more painting demos of rocks under water:
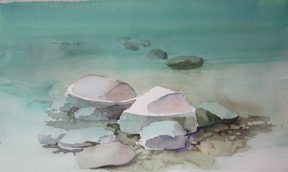 The one on the left was a demo on location and the one on the right was a more complex a composition. In it, we are seeing both rocks under water and, on the far side, both rocks under water and rocks reflecting on the surface of the water.
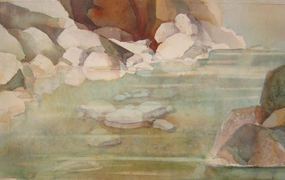 There are no end of combinations. For example, how would you cast reflections of trees on the far side on top of the rocks under water? I would suggest proceding as you did to this point. Then soak the whole painting, let the excess water drip out and then float the reflection colors onto the surface of your water ilusion.
I didn’t promise it would be easy. But now you know how. Practice will make it yours. Keep it really simple under you understand the steps.
Have fun painting!
© 2010 Caroline Buchanan
