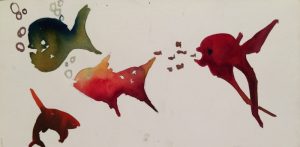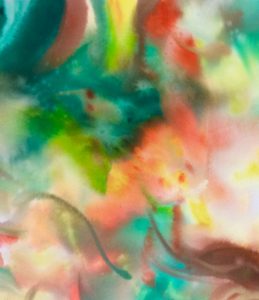
The on-line class, Getting Started in Watercolor was, in large part, exercises to get to know and understand the magical formula of how much water on the paper means how much water and how much pigment on the brush. Its learning what you can accomplish with the different combinations.
In writing about a posted painting a current student, Penny Chapman, wrote:
- Repeated practice.
- Seeing what happens and making adjustments until you know (pretty much) what is going to happen.
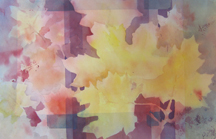
- How much water?
- How much paint?
- What happens when ?
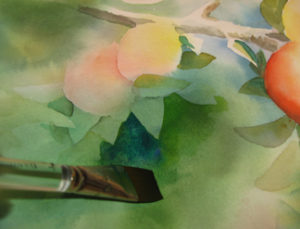
drawing out the negative painting with clean water
Watercolor is about process. Watercolor is about water. To work in watercolor you need to learn how to use and control your water. You need to learn when to do what — and what effect you will achieve. It isn’t about “making paintings” until the process are understood and at your command.
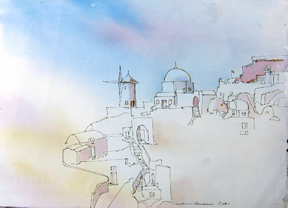
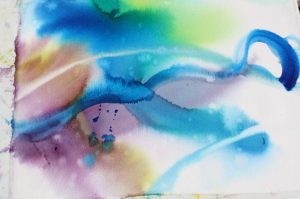
Random wet on wet wash with ink drawing added.
Watercolor is a bit like patting your head and rubbing your stomach. Before you put it all together it helps to work on the different processes, one at a time.
Wet on wet: how wet is the paper? What do you do first? How much paint? How much water on your brush? The answers to these questions are what you need to learn to use this important process in watercolor. It is so easy when you are shown; then try it; then make adjustments when necessary.

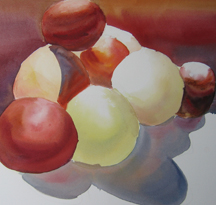 Wet blending: wetting a small area and then blending the colors so they go together smoothly; so you don’t get backruns or have brushstrokes in collision with one another. You play a bit first. Then you learn and practice some important how-to’s of mixing your colors. And finally you try modeling fruit to made a 2-dimensional circle on your paper appear to be three dimensional.
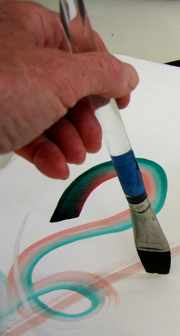
 Brush strokes: there is a beauty and rhythm to the way the brush is handled. Even how you hold it is important. This morning’s session can save you years of frustration! And you will learn why a #1 flat and a #10 round (see supplies) are all you need to make every kind of stroke.
 Glazing: part of the magic of watercolor is that you see through one layer of color to the next. Learning how to exploit this helps you learn how to create luminous watercolors.
Equipment:This is the basic equipment list which I do 95% of my own work. D’ARCHES WATERCOLOR PAPER, cold press, 90 or 140 lb.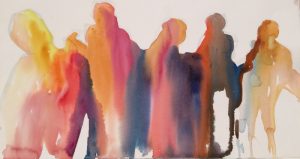
#2 or 2B pencil
white eraser
2 pint or quart sized water containers
a roll of tissue
1″ clear-handled flat brush — such as WINSOR NEWTON or DANIEL SMITH (72-99) BRUSH
#10 pointed round brush — such as ROBERT SIMMONS #10 or Skyflow, white sable 785
LIDDED PALETTE — such as Aqua Pro, or John Pike, or Steve Quiller’s with at least:
•yellow
•red
•blue
• burnt orange or burnt sienna
• a violet
in artist grade watercolor paint such as Daniel Smith, Winsor Newton, Da Vinci, Holbein.
Arrange your paints in a color wheel (ie rainbow).
I use Daniel Smith colors. Assuming you do not want to buy them all, besides the 6 listed above, first consider the hues highlighted in bold.
cobalt green
pthalo green, or Winsor green
cobalt teal blue
cerulean blue
pthalo blue, or Winsor blue
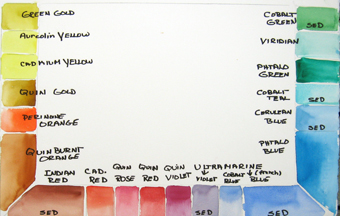 ultramarine blue
cobalt blue
ultramarine violet
quinacridone violet
quinacridone red or perylene red
quinacridone rose
cadmium red medium
Indian red
quinacridone burnt orange (or sienna)
perinone orange
quinacridone gold
cadmium yellow light, or Winsor yellow, or Hansa
aureolin
green gold
Note: you do not want browns, blacks, white. The paper is the white and we mix luscious browns, blacks etc.
OPTIONAL
a large flat brush such as an 1 1/2″ or 2″ or larger.SKYFLOW is good but not necessary.
Hairdryer.
A lightweight board
tape or clips
Caroline
