
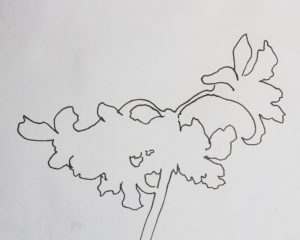
This year’s amaryllis bulb – one week ago.
It is time buy an amaryllis bulb, follow the planting directions and start drawing. That’s right — draw it once all wrinkled and apparently lifeless. Watch it and draw it next as the green begins to expand, and date the page. A day or two later draw it again. Pretty soon you will want to draw it every day.
One of my students who met the challenge last year, cared for her 5-year-old grandson each afternoon. Each day they would measure it and record the measurement as well as draw it. She fired off an email once: “It grew TWO inches!”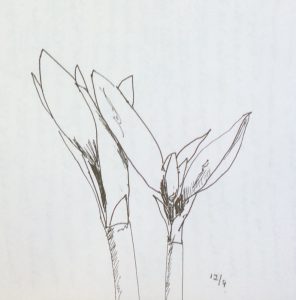
Continue to draw them as they evolve — straight contour drawing, shading, even trying some color.
You may find that they sprout so high that as the flowers begin to develop you stop trying to draw all the way up from the pot.
It is amazing how rapidly they change. You may find yourself saying, “I can go to bed… I haven’t done today’s amaryllis drawing!”
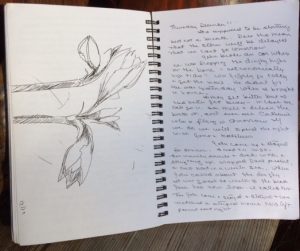
You can see writing through the pages of some illustrations.
I am a journal writing and for a number of years I gave myself a separate challenge – for every page of text, I had to do a drawing. If you keep a journal you may like that challenge too.
When several blossoms are in full flowers, it can be hard to keep 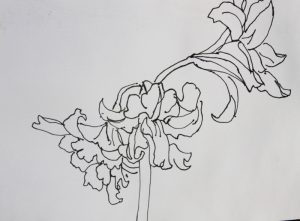 your place in the drawing. Do the best you can — don’t cross out. That is that day’s drawing. Then the next day, change the angle, set the pot on a higher or lower table or find another way to simplify.

The bulb to the right was from the year before. It had been lifeless but suddenly, in January, started growing and put its first buds out on short stems.
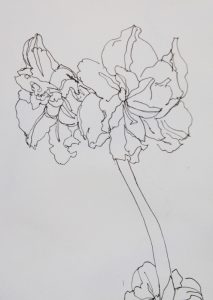
On the left is the amazing flowers that developed from the late bulb. The hanging blossom is just showing at the bottom… I ran out of page.
Another of this amaryllis with different shading is the lead drawing.
And, below, are the lower blossoms. I had to set the pot on the ends of the table so they could hand down freely.

the hanging amaryllis
 One way to change your approach is to just do a outer contour. It is more demanding than you might think.
Or you may want to add some colored pencil or a touch of watercolor.
But don’t make it too much of a project. Make it an every day project. Have fun! And feel free to write me about it (watercolors@rockisland.com).And keep drawing.
Caroline
I’ll add the planting directions that came with this year’s amaryllis in case your doesn’t come with any:
Growing Amaryllis is easy. Fill the pot about half full with the provided soil. Place the bulb in the pot and add the remaining soil around the bulb leaving upper third of the bulb exposed. Soil should be 1/2 inch below the rim
of the pot.
Water well initially; then water only when the top inch of soil is dry. Place the pot in a warm (above 60•)F location. After green shoots appear, move the pot to a sunny location and water regularly to keep the soil moist but not soggy. Adequate sunlight during the growing phase is important to keep the plant from stretching in search of light. Turn the pot regularly to keep the flowers growing upright.
Once the blooms open, move the pot away from direct sunlight and head to extend the blooming time (I sometimes put it on an above-freezing, non-windy deck at night). Amaryllis generally bloom within 6-8 weeks of planting.finally they are drooping
Amaryllis can be made to bloom again for years to come.

When blooms are spent, cut off the stalk about 3 “ from the top of the bulb but do not remove the leave. Place the pot in a sunny location and treat it as a green houseplant. Water as needed and fertilize monthly. In August top watering and move pot to a cool (55 ) dark place for a minimum of 2 months. Then restart the process!!
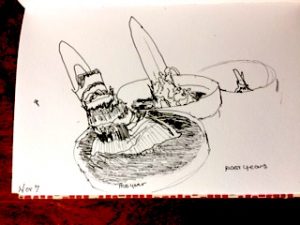
this year’s and two from earlier years
Nov 7: P.S. I am supposed to take my blood pressure every morning. Today I drew the amaryllis after I took it. Then I took it again. My systolic had dropped 20 points from a not so good 154 to an okay 134 and the diastolic was down from 84 to 77.
Draw!! It is good for you!
Caroline