Getting familiar by drawing
You may have been eyeing your cat basking in the sunshine, or your dog curled by the fire. “What a great subject!” you think.
But then you probably think, “I could never get the fur to look right.”
Maybe you have tried it and thought it was stiff. Did you paint it wet-on-wet? I bet not.
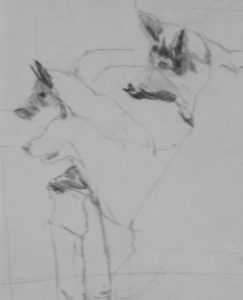
If painting your pet wet-on-wet sounds scary, start by drawing. Try doing quick drawings of your dog or cat. If they move, stop that drawing and start another. If you keep having trouble with a part, like a leg – just draw that part for a while until you begin to understand it and see how to draw it. Try different poses, different drawing tools.
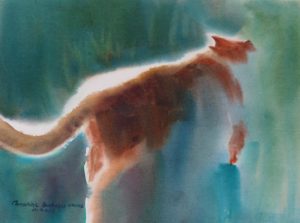
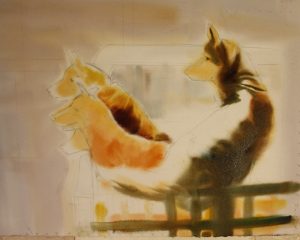
“On the Prowl” – done straight through from wet paper to a stop when losing its shine.
Fur is much easier to paint than it is to draw. When you think you are ready, the fun begins.
Draw the animal in big simple strokes on your watercolor paper — at least a 1/4 sheet if not larger. Get all set to paint and then soak your paper in a tub or get it good and wet on both sides, using your biggest watercolor brush.
Stand up!
Start painting the background. Really slam on the pigment into the background working from the outer edges toward the fur. Use a big flat brush. Not much water on it but lots of color. Keep adding more color into the first strokes until you get them dark enough and keep working them toward the edge of the animal.
If there is shading on the animal, or if it has dark fur,
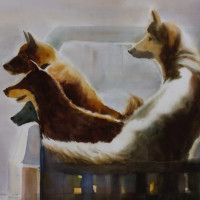
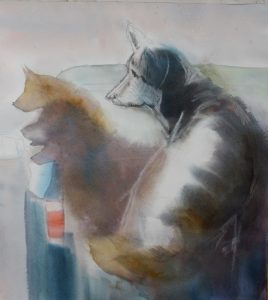
Early in a wet-on-wet draft of He’s Coming! See soft edges and warmer colors in the start.
start with the warmest, lightest color you see (quinacridone gold, orange, yellow). Work darker hues into this (red, burnt orange, violet) and add some of that into your background too.
Work fast and big.
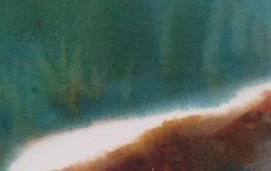
Wet paper and a damp-dry brush moves the pigment to the edge of the sun streak on the fur.
Stay away from the areas where the sun is hitting the fur.
Turn your flat brush on its narrow edge and drag the color toward the light area.
Drag the background toward the light area, negative stroking the damp color. Your brush should be blotted, if you rinsed it,so it is taking the paint up to the edge and stopping, not seeping into the light. But the paper must still be wet to keep the edge soft.
Where the animal is as dark as the background just let the colors blend into one another.
IF your paper gets too dry — How do you know? Instead of moving the paint, the brush is starting to pick it up — STOP!
If your paper gets too dry and you are not done, set it aside to dry.
When it is completely dry, soak it in your sink or tub (better
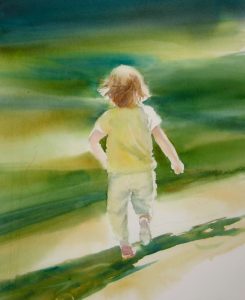
Callie Running – Two layers of wet-on-wet, plus wet blending and negative painting when dry.
than brushing it), hold it up until it stops dripping and then add a second layer, going darker and cooler in most places. Work fast and quit!
First try — the German sheppard just kept getting bigger and I lost the light on his tail.
When the paper is again dry you can add any hard-edged shapes such as a nose or eye.
The sneakers on Callie were added dry. Her shirt and pants were wet-blended (wetting small areas on the dry paper and painting). Negative painting, with dark green matching the wet-on-wet green, was used to describe the edge of her arms.
Try doing your cat or dog It’s fun! And if you don’t get it the first time, try it again.
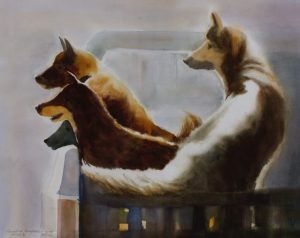
It took me three tries to get, “He’s Coming!” I got “On the Prowl” on the first try… and another I can’t find at the moment. A dog like the one below.
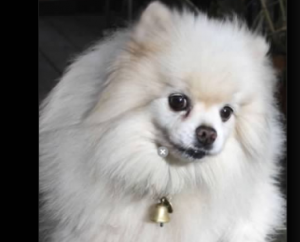
Don’t have any pets? Try one of these:

Don’t get hung up on the bell. Try those nice soft edges of fur.
Have fun!

 Happy painting!
Caroline
© Caroline Buchanan, 2016